 Use the editboxes to set the dimensions
of your product and select the Unit of Measurement from the dropdown
for each dimension.
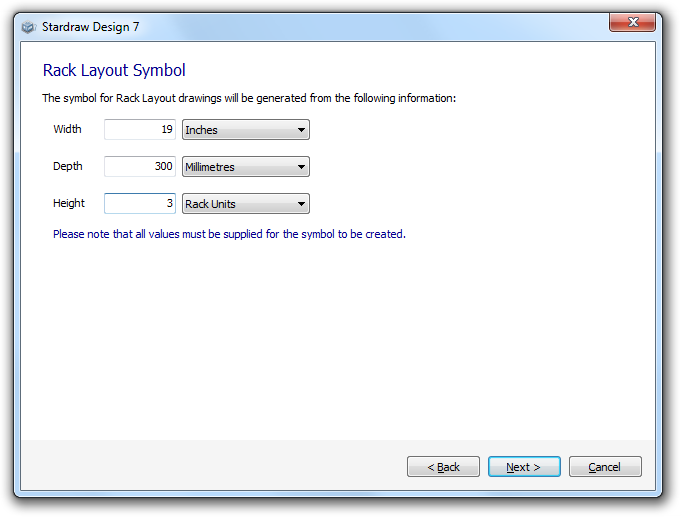
Use the editboxes to set the dimensions
of your product and select the Unit of Measurement from the dropdown
for each dimension.
In this dialog it is quite usual to 'mix up' measurement units because of the way that Rack standards have evolved.
- Most singlespace rackmount products are 19" wide.
- Depth is usually measured in whatever unit is geographically appropriate, e.g. inches in the USA, millimeters in Europe etc.
- Height of rackmount products is usually measured in Rack Units (RU or U)
When you've set the product dimensions click on Next>. This creates a basic Rack Layout symbol for your UDP.
If you wish later to add more sophisticated graphical elements to your UDP symbol you can use Symbol Edit mode.
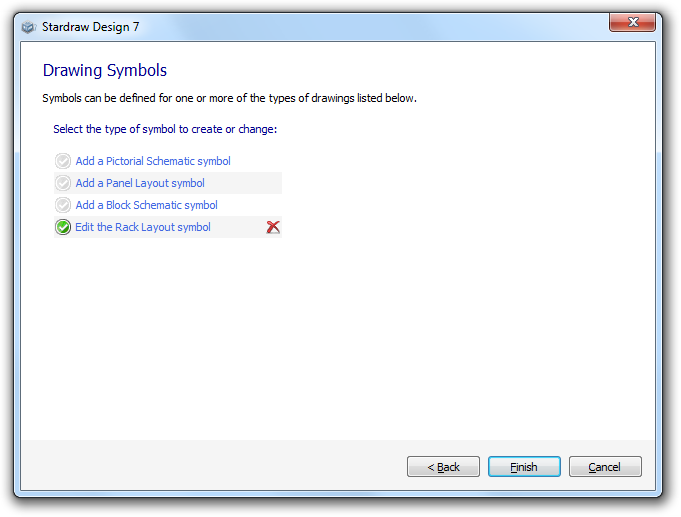 When you have completed the Rack
Layout Symbol Wizard you will return to the symbols page of the
When you have completed the Rack
Layout Symbol Wizard you will return to the symbols page of the  indicates that a Rack Layout Symbol has
been created for the UDP.
indicates that a Rack Layout Symbol has
been created for the UDP. .
.